Using EZ Thumbs to resize photos
Need to Re-size Photos? Working on your web site can be a challenge, especially when you have to edit photo sizes…and more than one at a time can be a problem as well …unless you have EZ Thumbs! Download EZ-Thumbs Here
Text Version:
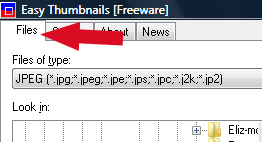
- When you first open up EZ Thumbs make sure you are on the first tab, files
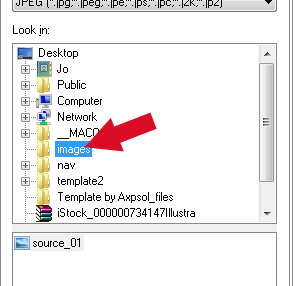
- Then navigate through your files to the folder where the image(s) are the you want to resize
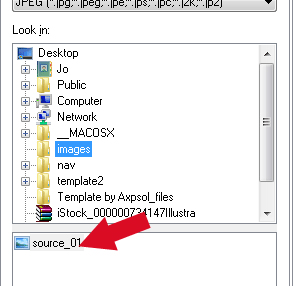
- Then you will see your images in the window below, you can click on an image for larger view
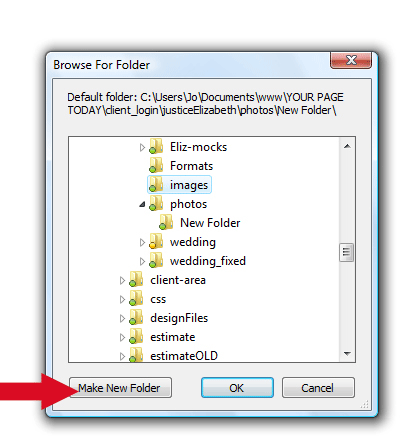
- Next tell it where to save the resized images. Click on the “save in” to choose where
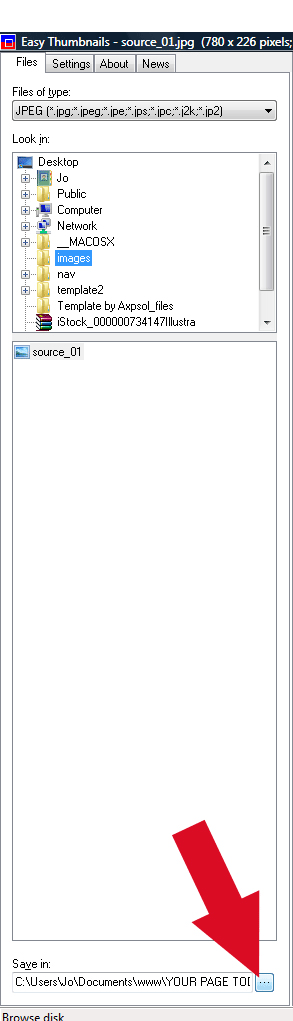
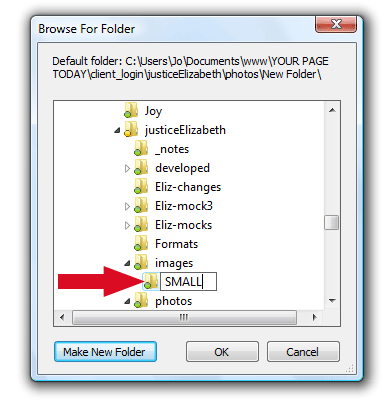
Here you navigate to the folder where your images are and then make a new folder, and call it something like small for example
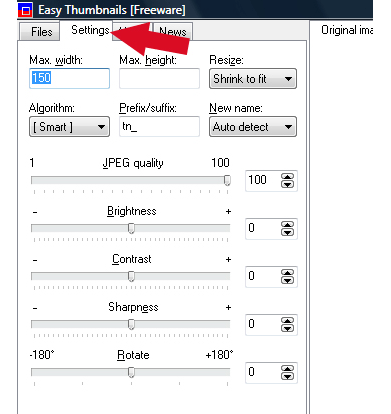
5. Next you have to tell the it what SIZE to make the new images, if you are putting new images with some content in a page, then try a width of say 150px. You have to go to the settings tab and type in 150 in the max width box, you can leave the rest of the settings alone.
6. Next go back to the files tab
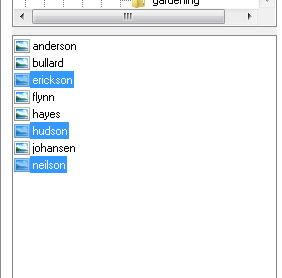
7. Then using your shift key or ctrl key select your image, or images you want to resize by highlighting them
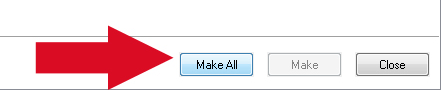
ALMOST DONE
8. Next choose …make all!
That’s it, then you will find your resized images in that “small” folder that you created in step 4.